How to allow a port in iptables
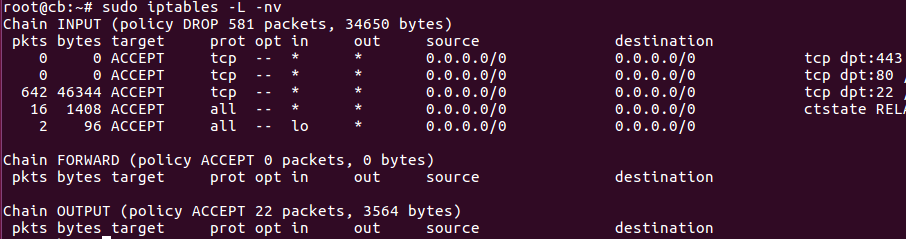
Iptables is a neat tool for every Linux user. The basic yet powerful firewall, allows you to do pretty much everything you want with the network traffic. In this short article we’ll show you how to allow access to a specific TCP port on your cloud server.
To do it, the iptables command looks like this:
sudo iptables -I INPUT 1 -p tcp –dport 22 -m comment –comment “Allow public web access” -j ACCEPT
It allows incoming traffic to TCP port 22 representing default SSH.
Now as security is important and we don’t recommend to simply trust commands from the Internet, let’s see what the different parameters mean.
The ‘-I INPUT 1’ part defines where to put the rule. We add it to the INPUT chain which means it applies on traffic incoming to the machine. the -I and 1 will ‘insert’ it at the top of the rules on #1.
The -p specifies the protocol. As we talk about ‘ports’ we shall specify ‘tcp’ or ‘udp’ which are the two most common protocols using ports and running on top of IP.
The –dport specifies the two port numbers to look for.
The -j ACCEPT is pretty self-explanatory. It means that traffic matching the specified rules will be allowed to access the server.
Keep an eye on the blog for more articles regarding #security, #firewall and #iptables.